
Window Screen Cleaning and Repair
Regular window screen cleaning is crucial for sustaining good air quality and enhancing the visual appeal of your home. Clean window screens allow for unobstructed airflow and reduce the accumulation of dust and allergens, contributing to a healthier living environment. Moreover, they enhance the exterior aesthetics of your home, making a good impression on visitors and passersby.
To effectively clean your window screens without causing damage, start with gentle dusting to remove loose debris. For more thorough cleaning, use a soft brush and a mild soap solution to gently scrub the screens. Rinse them with water and let them air dry before reinstallation. These methods ensure that your screens are not only clean but also maintained in good condition.
Screens can suffer from wear and tear over time, leading to issues like tears and holes. Addressing these problems promptly can prevent further damage and extend the lifespan of your screens. Simple repair solutions, such as patch kits or adhesive strips, can be effective for minor damages, ensuring that your screens continue to function effectively.
Maintaining clean and well-repaired window screens has numerous benefits, including improved ventilation, reduced exposure to allergens, and enhanced home hygiene. Regular screen maintenance is a simple yet effective way to contribute to the overall comfort and health of your home environment.
How To Clean A Window Screen

Keeping your window screens clean not only improves the appearance of your home but also enhances air quality by removing dust, pollen, and other airborne particles. Regular cleaning can extend the life of your screens and ensure they remain functional, preventing insects and debris from entering your home while allowing fresh air to circulate. The following steps will guide you through the process of effectively cleaning your window screens, ensuring they are well-maintained and clear of obstructions. This straightforward approach requires minimal tools and can be completed with ease, making it an essential aspect of your home maintenance routine.
Step By Step Instructions:
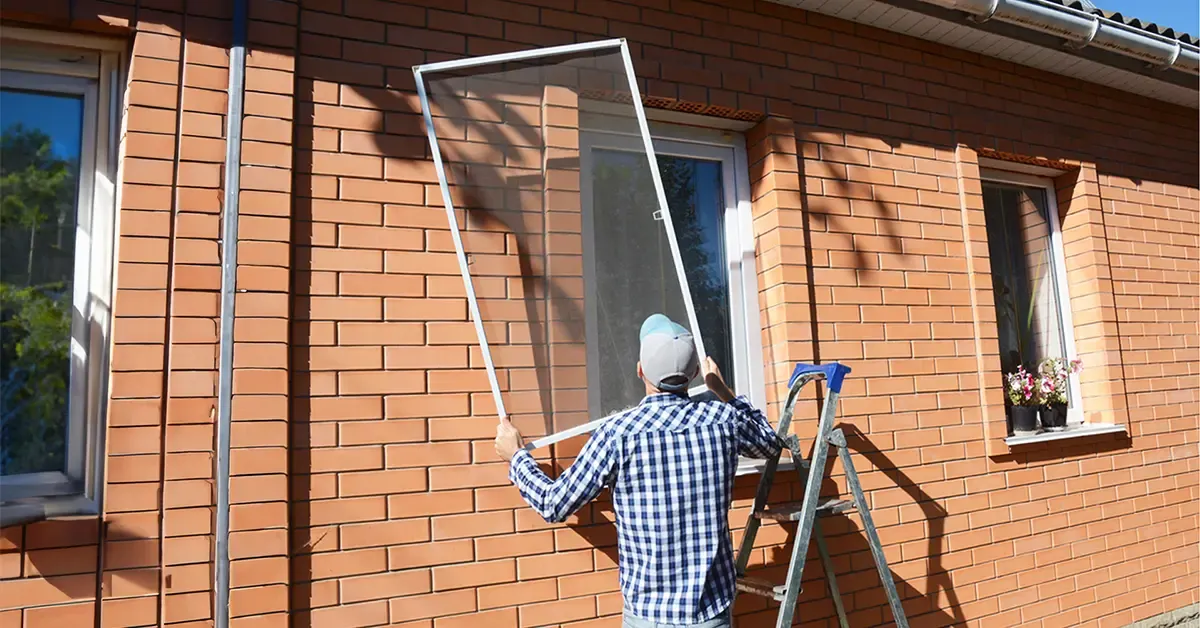
- Remove the screen gently from the window frame to avoid any damage.
- Lay the screen flat on a clean, soft surface to prevent bending.
- Use a soft-bristled brush or a handheld vacuum with a brush attachment to gently remove loose dust and debris from both sides of the screen.
- Prepare a cleaning solution by mixing mild dish soap with lukewarm water in a bucket or spray bottle.
- If using a spray bottle, spritz the solution onto the screen. Otherwise, dip a soft cloth or sponge into the bucket and apply the solution gently to the screen.
- Scrub both sides of the screen softly with the cloth or a soft brush to remove any stuck-on dirt without tearing the mesh.
- Rinse the screen thoroughly with a gentle stream of water from a hose or showerhead, ensuring all soap residue is washed away.
- Shake the screen gently to remove excess water, then leave it to air dry completely in a shaded, well-ventilated area.
- Once dry, reinstall the screen carefully back into the window frame.
How To Remove Paint & Other Sticky Stuff From A Window Screen
Removing paint and other sticky substances from window screens requires careful handling to avoid damage. Whether the paint is fresh or dried, the removal process involves using specific solvents and tools. It’s essential to work gently to preserve the screen’s integrity while effectively eliminating the paint.
Step By Step Instructions:
- Begin by carefully removing the screen from the window. This provides easier access and prevents any potential damage to the window frame during the cleaning process.
- Initial Cleaning Attempt: Before applying any strong solvents, try to clean the affected area with water and a soft cleaning brush. This might be enough for freshly spilled paint or smaller stains.
- If water isn’t effective, use a solvent like rubbing alcohol (isopropyl alcohol) for latex paint. Apply the solvent gently to the stained area using a soft cloth. For tougher stains or oil-based paints, stronger solvents like paint thinner, acetone nail polish remover, or even a lacquer thinner might be necessary.
- Dampen a cloth with the chosen solvent and gently dab or rub the paint spots. Avoid using excessive force to prevent stretching or damaging the screen. An old toothbrush can be an effective tool for applying the solvent and working on the paint without applying too much pressure.
- After the paint has softened and been removed, thoroughly rinse the screen with water. This can be done with a hose or a bucket of water, ensuring all solvent residues are washed away.
- Allow the screen to air dry completely in a shaded, well-ventilated area before reinstalling it on the window.
When using paint thinner for cleaning window screens, it’s crucial to proceed with caution, especially if the screens are framed with aluminum or have painted surfaces. Paint thinner, while effective in removing stubborn grime, can also strip away paint. This is particularly important to consider when dealing with aluminum frames that may have been painted or coated for aesthetic or protective purposes. If the thinner is applied too liberally or scrubbed too vigorously, there’s a risk of damaging the finish, leading to a patchy or completely removed paint layer. Therefore, when using paint thinner on such surfaces, it’s essential to apply it sparingly and gently wipe, rather than rub, to avoid inadvertently removing the paint along with the dirt.
How To Repair A Hole In Your Window Screen

To repair a window screen hole, you will need a few tools and materials including a screen repair kit (which can usually be found at hardware stores or online), scissors, and clear household glue if the kit doesn’t include adhesive patches. The repair kit should contain screen patches that match the material of your screen (fiberglass or metal).
Step By Step Instructions:
- Carefully remove the window screen from its frame to assess the damage and work comfortably.
- Clean the area around the hole or tear to ensure the repair materials adhere properly.
- Measure the size of the hole and cut a repair patch from your screen repair kit, ensuring it extends beyond the damaged area by at least half an inch on all sides.
- If the patch is self-adhesive, remove the backing and press it firmly over the hole. For patches without adhesive, apply a thin layer of clear household glue around the edges of the hole, then place the patch on top.
- Use a flat tool, like a spatula, to press down on the patch to secure it in place, ensuring there are no air bubbles and that the edges are sealed.
- Allow any glue to dry completely, following the manufacturer’s recommended drying time, before re-installing the screen in the window frame.
Can You Repair A Screen With A Large Hole?

Repairing large holes in window screens is possible, but the feasibility and aesthetics of the repair depend on the size of the hole. For holes up to three inches in diameter, a repair can be effectively made that leaves the screen looking almost as good as new. The repair for such sizes involves using a patch, which can be either purchased as part of a window screen repair kit or made from a similar screen material. The patch should slightly overlap the damaged area to ensure a secure fix.
However, when dealing with holes larger than three inches, the repair becomes more conspicuous and might not blend seamlessly with the rest of the screen. While it’s still possible to repair holes of this size, the patch may be noticeable and could potentially affect the screen’s appearance and the overall look of the window or door. In such cases, it might be more aesthetically pleasing and functional to replace the entire screen panel to maintain the uniformity and integrity of the screen.
For both small and large repairs, the materials and approach will vary depending on whether the screen is made of metal or fiberglass. Fiberglass screens are easier to work with for patching, as they can be repaired with simple household items like clear nail polish or adhesive for binding the patch. Metal screens, on the other hand, may require a bit more effort, including the use of a fine wire to weave the patch into place or a special adhesive suitable for metal.
It’s important to approach the repair carefully, especially for larger holes, to ensure that the screen remains tight and functional, keeping out insects and debris as intended. If the damage is extensive or if the repair impacts the screen’s functionality or appearance significantly, full screen replacement might be the best option.
Call A Professional Screen Company or DIY?
Choosing a professional screen company for cleaning and repair services offers significant benefits over DIY attempts. Professionals bring expertise that reduces the risk of further damage, which can occur when untrained individuals attempt repairs. The physical demands of screen work, including removing, cleaning, and reinstalling screens, are best handled by those with experience and the right tools. Additionally, a professional service provides great value by ensuring the job is done correctly and efficiently, potentially saving money and time in the long run by preventing future issues.
For all your screening needs, consider reaching out to Screens N’ More at (772) 477-1044 for a free screening consultation.